10 most common mistakes when building a combat robot (and how to avoid them)
Ten mistakes that make beginners fail the tech check or lose their first fight: failsafe, weight, gearing, wiring, an unlocked weapon. And how to avoid each of them.
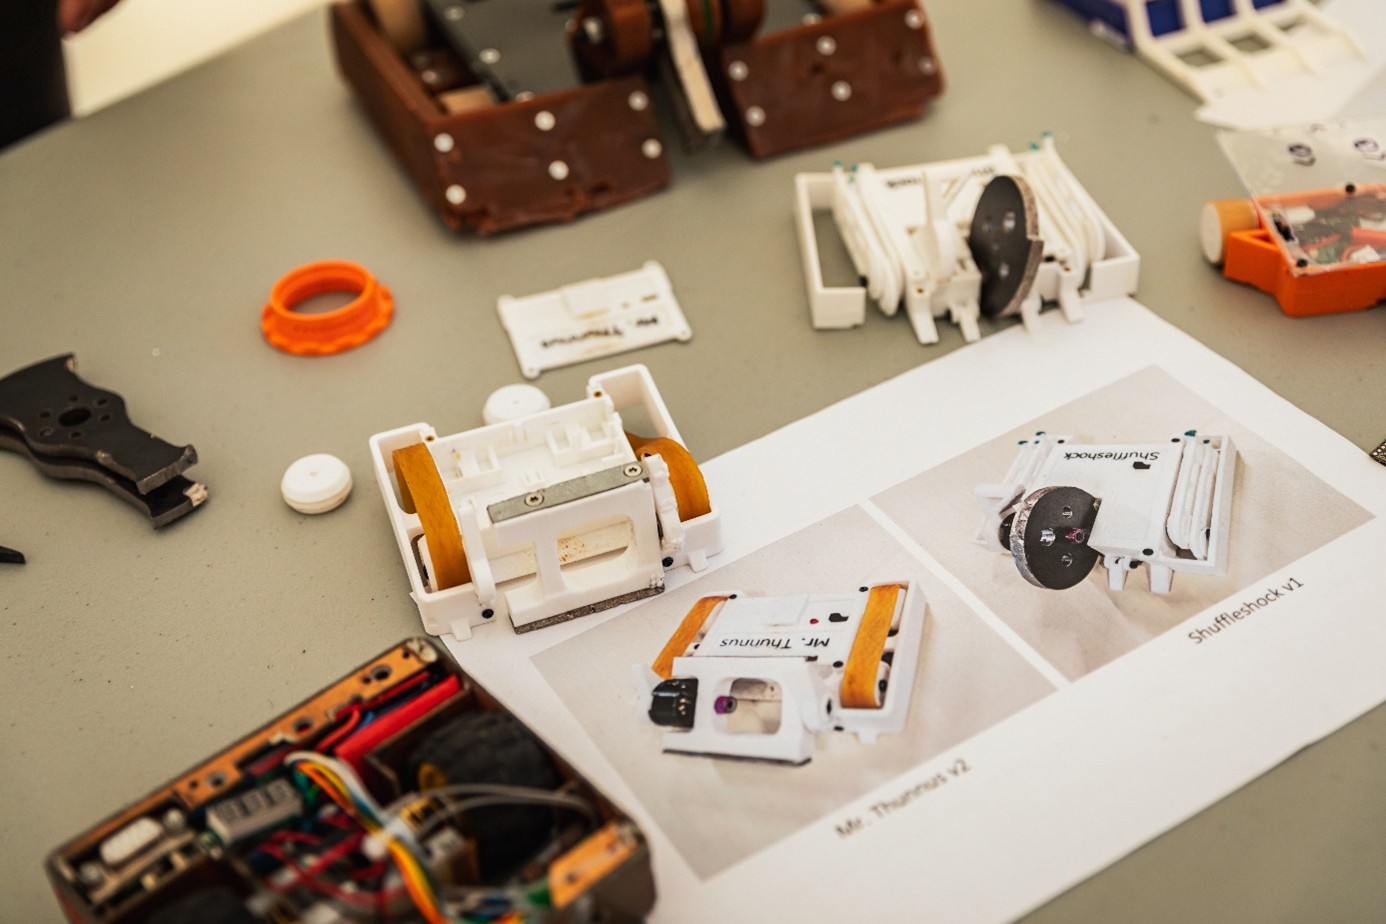
Over years of workshops and tournaments we have seen hundreds of first robots. Most of them did not lose because of a bad idea but because of the same ten mistakes that keep repeating. The good news: all of them can be fixed before the tournament and none costs more than a few euros.
Mistakes that fail the tech check
1. No failsafe
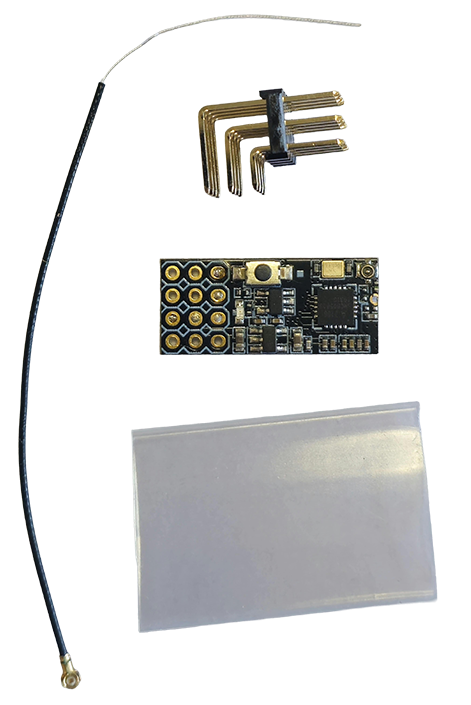
Rule 5.1 of the CCRL rules is clear: when the transmitter is switched off or the signal is lost, the robot must stop, weapon included. The organiser tests this on every robot. Cheap marketplace receivers often have no failsafe at all; on the Flysky FS2A you set it in the transmitter in a minute. Verify at home: run the motors, switch the transmitter off, the robot must stand still.
2. The switch is inside the robot
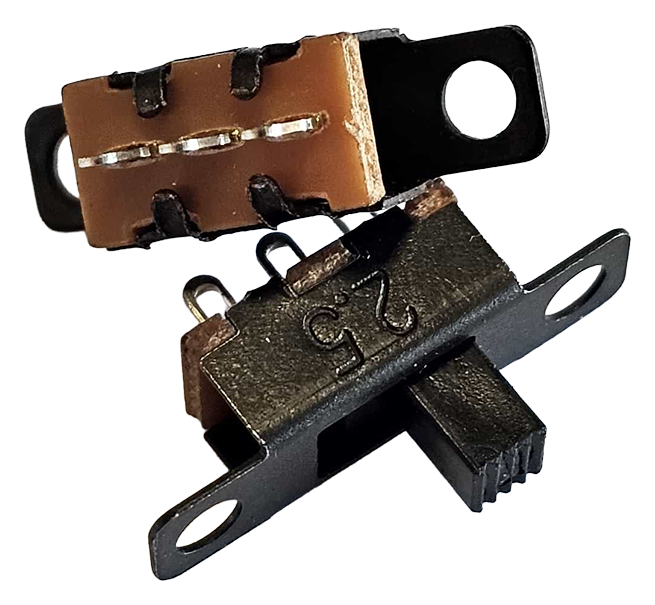
Rule 5.2 requires a way to switch off that is accessible from outside, with marked on/off positions. A switch hidden under a cover you can only reach with a screwdriver fails. A slide switch at 9 CZK fits into the robot’s wall; for spinners use a higher-rated switch or a removable link, which the rules explicitly allow.
3. An unlocked weapon
Every dangerous moving weapon must be physically locked outside the arena so it cannot move (5.3). You show the lock at the check, the weapon is locked when the robot is switched on, and after a fight you lock it first and only then switch the robot off. The simplest lock is a printed wedge that slides between the disc and the body; print two, one always gets lost.
4. A robot designed to exactly 150 g
In CAD it weighs 149 g, on the organiser’s scale 157 g. Screws, threaded inserts, connectors, wires and hot glue are missing from the model and add 8–12 g together. Design for 140 g and weigh the robot at home in fighting configuration, battery included. How the limit and its exceptions work is explained in Antweight vs beetleweight.
Design mistakes
5. Wrong gearing and a robot that is too fast
The most common mechanical mistake: an N20 motor at 3,000 rpm with big wheels. The robot is lightning fast, but in an arena a metre and a half across you cannot hold a straight line and have no pushing power. For a first robot choose 600–1,000 rpm with a 20–30 mm wheel: slower, controllable and stronger when shoving an opponent.
6. Motors held in with hot glue
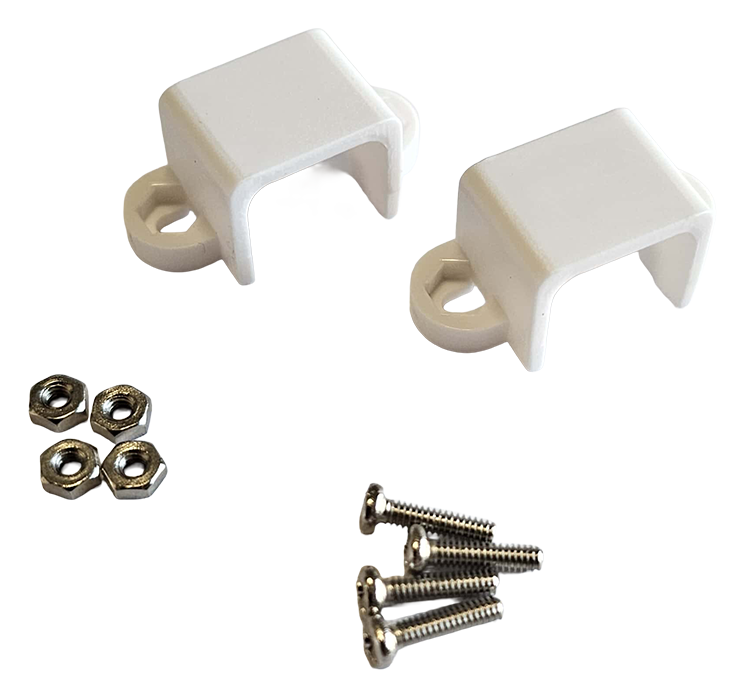
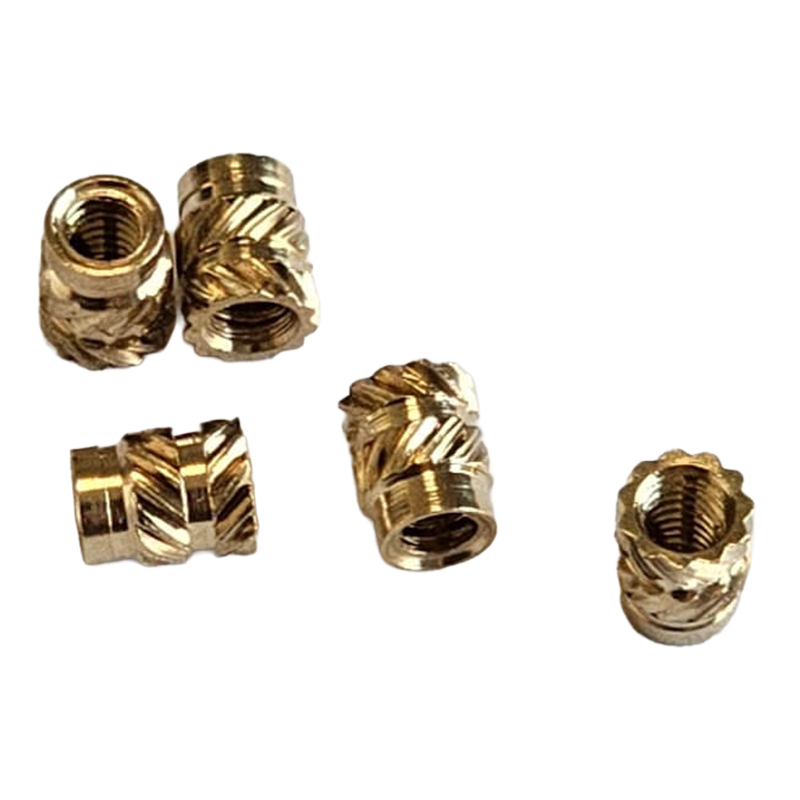
Hot glue holds until the first hit. Then the motor twists, the shaft rubs against the body and the robot drives in circles. Use N10/N20 motor mounts and threaded inserts melted into the plastic – M2 screws can be loosened and retightened in the pits. The tutorial How to choose the right material covers the choice of plastic.
7. A first robot that is too complicated
A spinner, a flipper and self-righting all at once means nothing gets finished before the tournament. A wedge or pusher with no moving parts wins beginner fights surprisingly often because it simply drives and does not destroy itself. Add the weapon in version two, once you can drive; the options are on the Weapon types page.
8. A wedge that does not stay on the floor
A wedge only works when its edge is lower than the opponent’s. A ground clearance of 1–2 mm, a centre of gravity shifted forward and a wedge edge that lightly touches the floor decide who gets under whom. Print the wedge as an interchangeable part – the rules allow swappable panels – and bring a version for a flat and for a slightly uneven arena.
Electronics mistakes
9. Twisted wires and tape
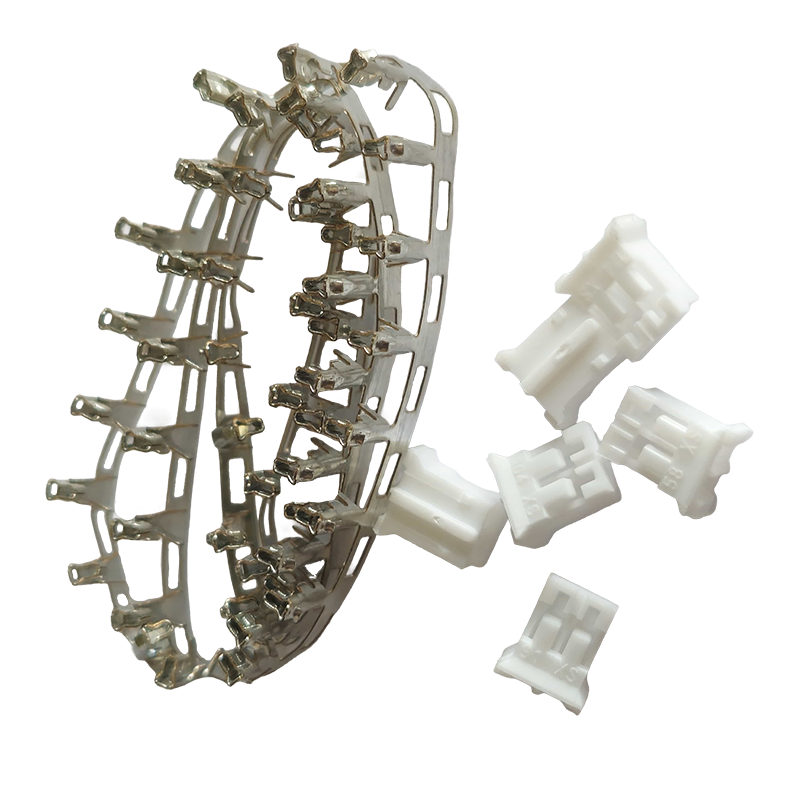
The most common cause of a robot dying mid-fight is not a flat battery but a loose joint. Solder, use JST PH 2.0 connectors and silicone wire that does not burn through against a motor, and tie the wiring down with a cable tie so it cannot move on impact. Before the tournament drop the robot onto a table from 10 cm a few times – if it survives that, it survives a fight.
10. Batteries without measurement and without a spare
A robot that goes out on a half-empty pack has lost before the fight starts: the ESC limits power and the receiver reboots when the voltage sags. A tester at 69 CZK and a second battery are the cheapest insurance. How to choose and charge packs within the rules is in LiPo batteries for combat robots.
Bonus: mistakes that have nothing to do with the robot
- You did not practise driving. Two hours of driving around boxes in the living room do more than any weapon. Learn to reverse, turn on the spot and slide the wedge under an object.
- You have no spares. An N20 motor at 99 CZK, a pack of wheels and a few connectors fit in a pocket. Without them the robot is out after the first snapped shaft. The full packing list is in Your first combat robot tournament: a team checklist.
- You did not read the rules. Ten minutes of reading saves an hour at the tech check.
Avoid these ten points and you will pass the check first time and drive your first fight with a robot that actually drives. The tutorial How to build a combat robot walks you through the build step by step, and everything linked in this article is in stock in the e-shop.
Frequently asked questions
How do I set the failsafe on a Flysky FS-i6 and FS2A?
In the transmitter open the receiver settings (RX setup → Failsafe) and set the drive and weapon channels to the value that means zero. Then power the robot, run the motors, switch the transmitter off and watch: everything must stop within a second. That is exactly what the organiser does at the tech check.
How much weight reserve should I leave in the design?
Ten grams, i.e. design for 140 g. Screws, threaded inserts, connectors, wires and hot glue are usually not in the model and add 8–12 g together. If you land under the limit, turn the reserve into a thicker wedge.
What N20 motor speed is right for a first robot?
600–1,000 rpm with a 20–30 mm wheel. Faster gearing (2,000 rpm and up) makes the robot twitchy and uncontrollable in a small arena, while slower gearing gives more pushing power.
Does the robot have to drive upside down?
The rules do not require it, but a robot that cannot move after being flipped usually loses on immobility. A symmetrical design that drives inverted, or a simple self-righting feature, is one of the most useful upgrades for version two.
How long does it take to build a first antweight robot?
With a finished design and parts it is one or two weekends of work: printing the body, wiring the electronics, running it in and setting the failsafe. Designing your own body in CAD adds a few more evenings depending on experience.
Where can I find ready-made body models to print?
The tutorial How to model and print the body of a combat robot shows how to design a body around N20 motors. Community models are on Printables or Thingiverse under antweight; always check them against the 15 × 15 cm limit before printing.