


How a Combat Robot Works
A combat robot is a remote-controlled machine built for one purpose: to disable an opponent inside an arena. It is not autonomous — a human drives it the whole time. Every build comes down to five parts: control, drive, power, chassis and weapon. The smallest class starts at 150 grams, so your first robot fits in a shoebox.
The machines you know from BattleBots are the same engineering at a larger scale. What changes is mass and budget, not the principle.
What counts as a combat robot
The recipe is simple: a chassis with motors, a receiver, a battery and some form of weapon. The robot has to survive a hit, stay on its wheels and come in under the weight limit for its class. That limit is what makes the design interesting — every gram spent on armour is a gram missing somewhere else.
Matches usually end one of two ways. Either your opponent stops driving, or you push them out of the arena. The second route is often the smarter one for a beginner. A robot that drives reliably and pushes hard beats a lot of more ambitious builds that shake themselves apart in the first minute.
Anatomy of a Combat Robot
Every robot is different, but the components repeat. These are the five problems you solve every time.
Control — transmitter and receiver
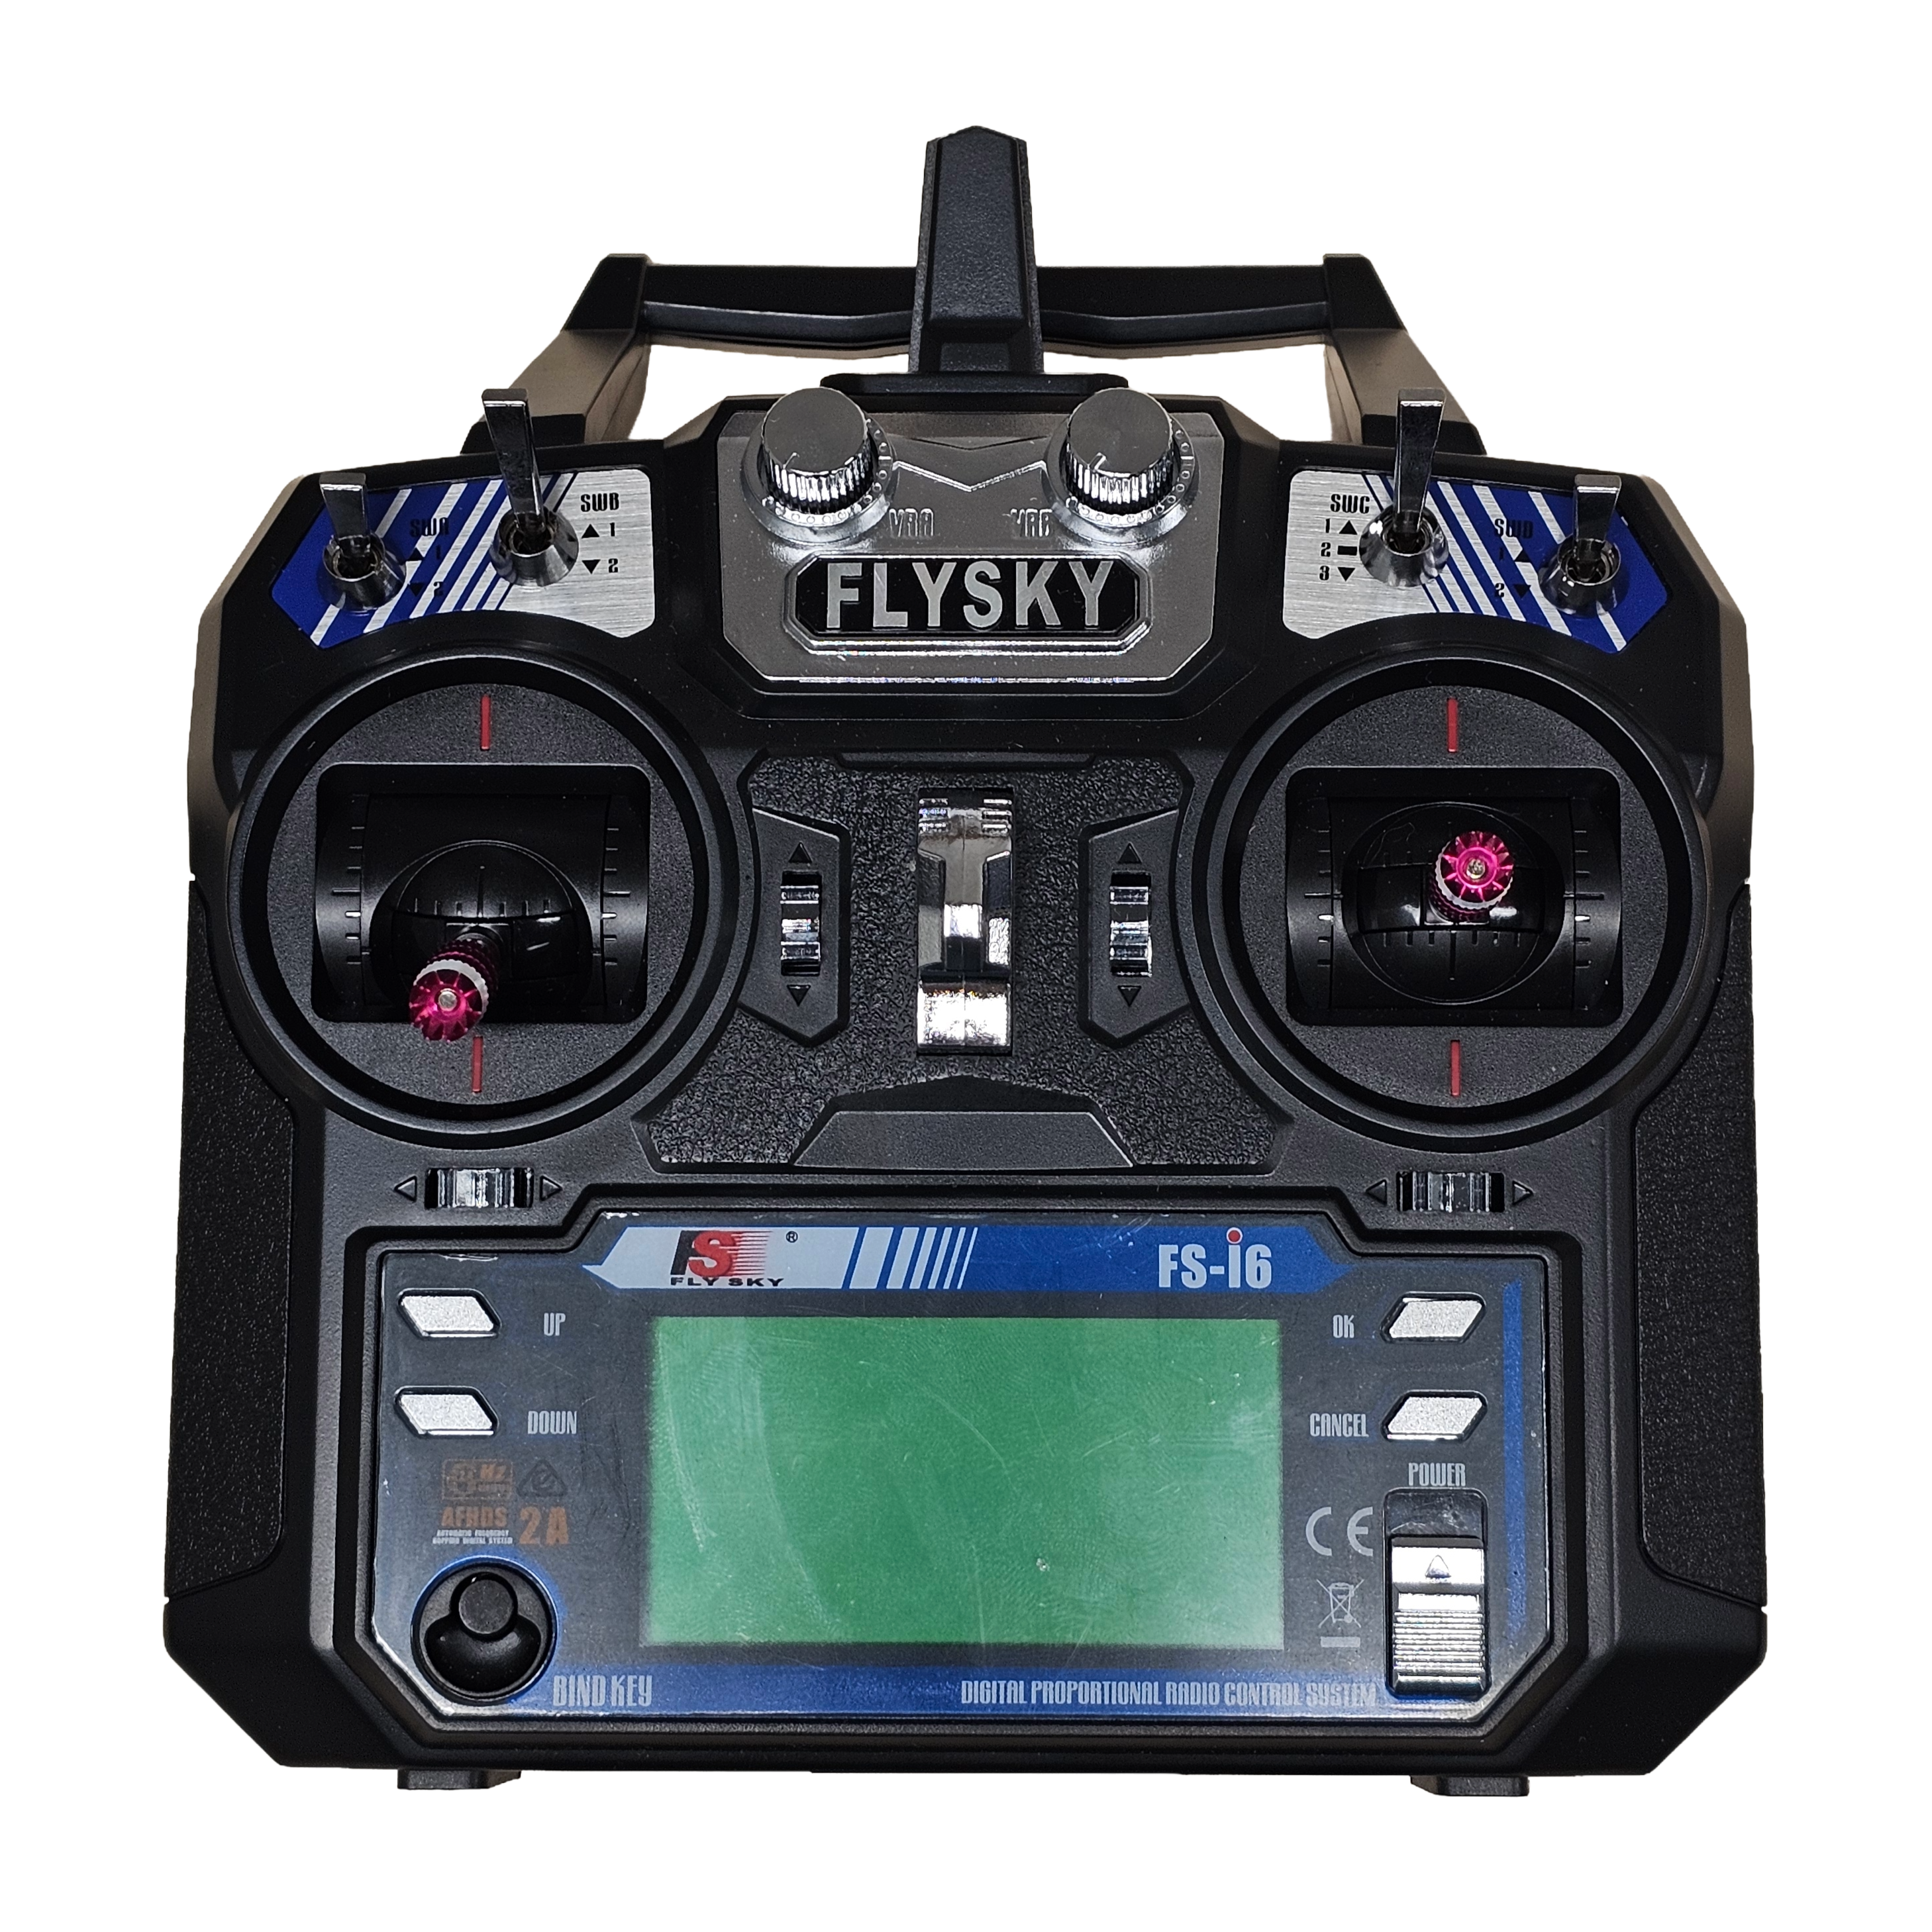
The transmitter (Tx) is the controller in your hands. The receiver (Rx) sits inside the robot and picks up the signal. They talk over a radio protocol, and here is the first trap: not all models talk to each other. Before you buy anything, confirm that your transmitter and receiver use the same protocol.
A proven starter combination is the Flysky FS-i6 transmitter with an FS2A receiver. It is cheap, widely available, and it has model memory — you store several robots in one transmitter and switch profiles between them. Once you build a second robot, you will appreciate that.
A transmitter is a long-term investment. It outlives several robots, so buying the cheapest unit that handles exactly one model is a false economy.
Electronic Speed Controllers (ESC)
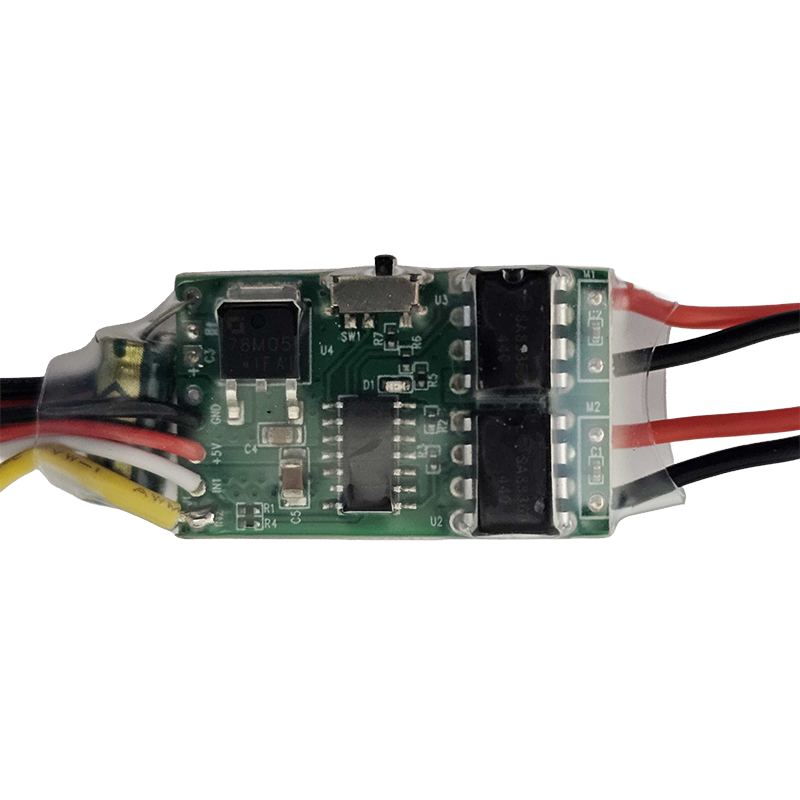
An ESC turns receiver commands into voltage for the motor. Push the stick further, the voltage rises, the motor spins faster. Without one, a motor has two states: stopped, or flat out.
They split by motor type:
- Brushed — for ordinary geared DC motors, two wires
- Brushless — for higher-output motors, typically weapon motors, three wires
A standard ESC drives one motor. Dual ESCs handle two at once, which saves both space and weight on a two-wheel drivetrain. Our component shop carries both kinds in several current ratings.
Drive — motors and wheels
The drivetrain decides whether you can get out of trouble. Speed and pushing power come down to motors and wheels.
Geared brushed DC motors are the usual choice. A wound coil sits inside a magnetic housing and turns when current runs through it. They are cheap, robust and easy to control. Brushless motors are more powerful and more efficient, but they need a dedicated ESC and three wires instead of two.
Wheels are worth experimenting with. Traction is what matters — a robot spinning its wheels is not pushing anything. Four wheels or tracks give better grip because the robot’s full weight sits on driven wheels, but they cost more grams than a two-wheel setup.
For tyres, surprisingly ordinary materials work: rubber bands, Lego tyres, O-rings, sanitary silicone or cast polyurethane. If you would rather not experiment, moulded rubber wheels sized for antweight are a safe default.

Power — LiPo batteries and BEC
Most combat robots run on LiPo (lithium-polymer) cells. They are small, light and deliver serious current. They also demand respect — charge them only with a proper charger, and never use a damaged pack.
The catch is voltage. A battery puts out more than a receiver can take, and receivers usually want 5 V. That is what a BEC (Battery Eliminator Circuit) is for — it steps the higher voltage down. Many ESCs have a BEC built in, so you may not need a separate one. Check before you build, rather than after.

Chassis and Construction
The chassis holds everything together and absorbs the hits. At antweight, most builders now 3D-print the body, usually in TPU — it flexes and soaks up impact instead of transmitting it. Stiffer materials like PLA crack.
Other proven materials include polycarbonate, aluminium, titanium and, provided the robot fits within the weight limit, steel. The heavier the class, the more likely you are to mix approaches: a printed body with metal armour panels on the exposed faces.
Weapons
The weapon is what defines a robot — build one you will enjoy. Here is an overview of the basic types:
- Wedges
A wedge-shaped front lets you get under your opponent, so you can push them, flip them, or drive them into the wall. An acetate sheet is often added for an even lower profile.
- Lifters and grabbers
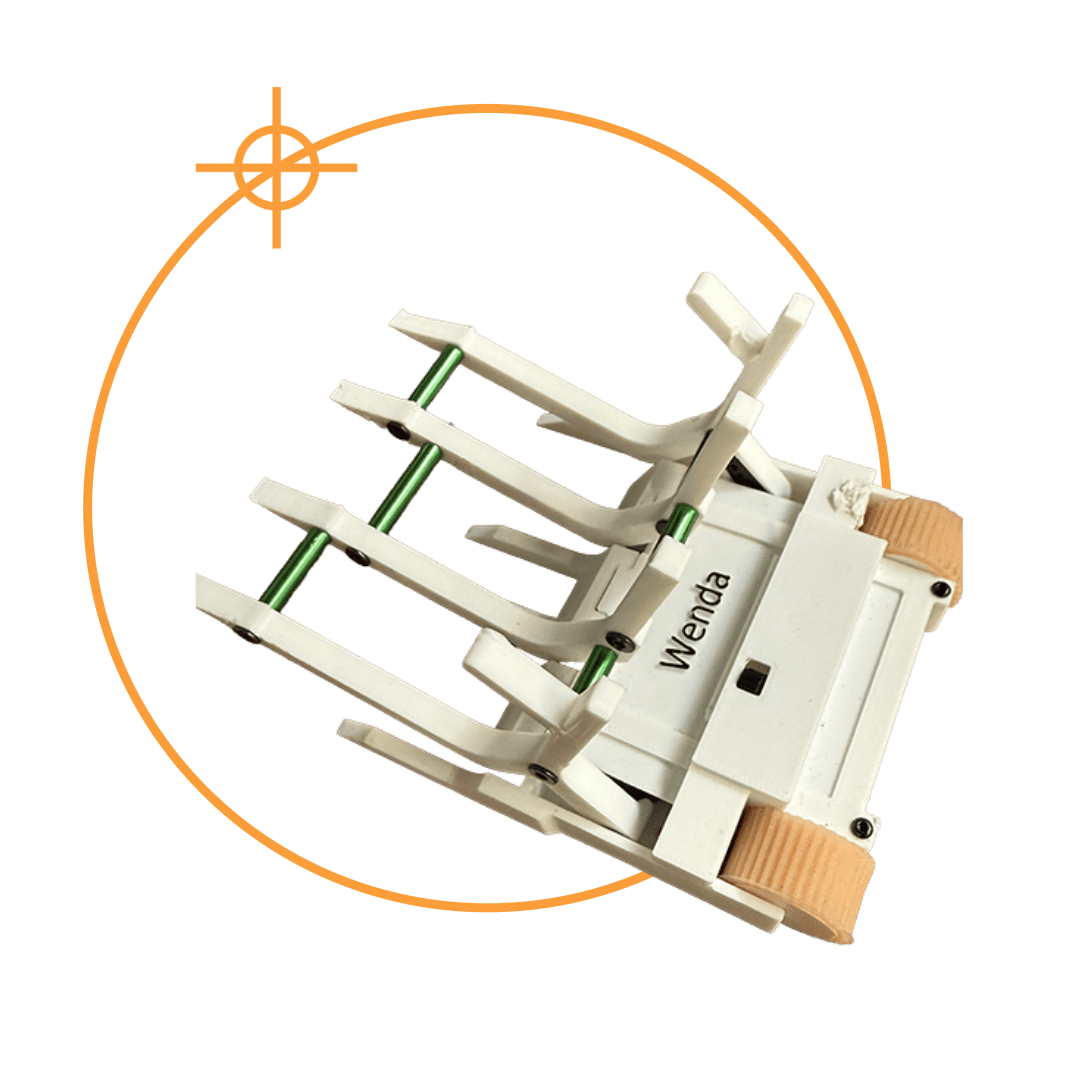
These work on the principle of an arm that either lifts the opponent from underneath or clamps down on them from above. They are usually powered by servos plugged directly into the receiver.
- Axes, hammers
An arm that swings down in a fast motion. Can be built with a brushed gear motor and a separate ESC — similar to the drivetrain.
- Spinners
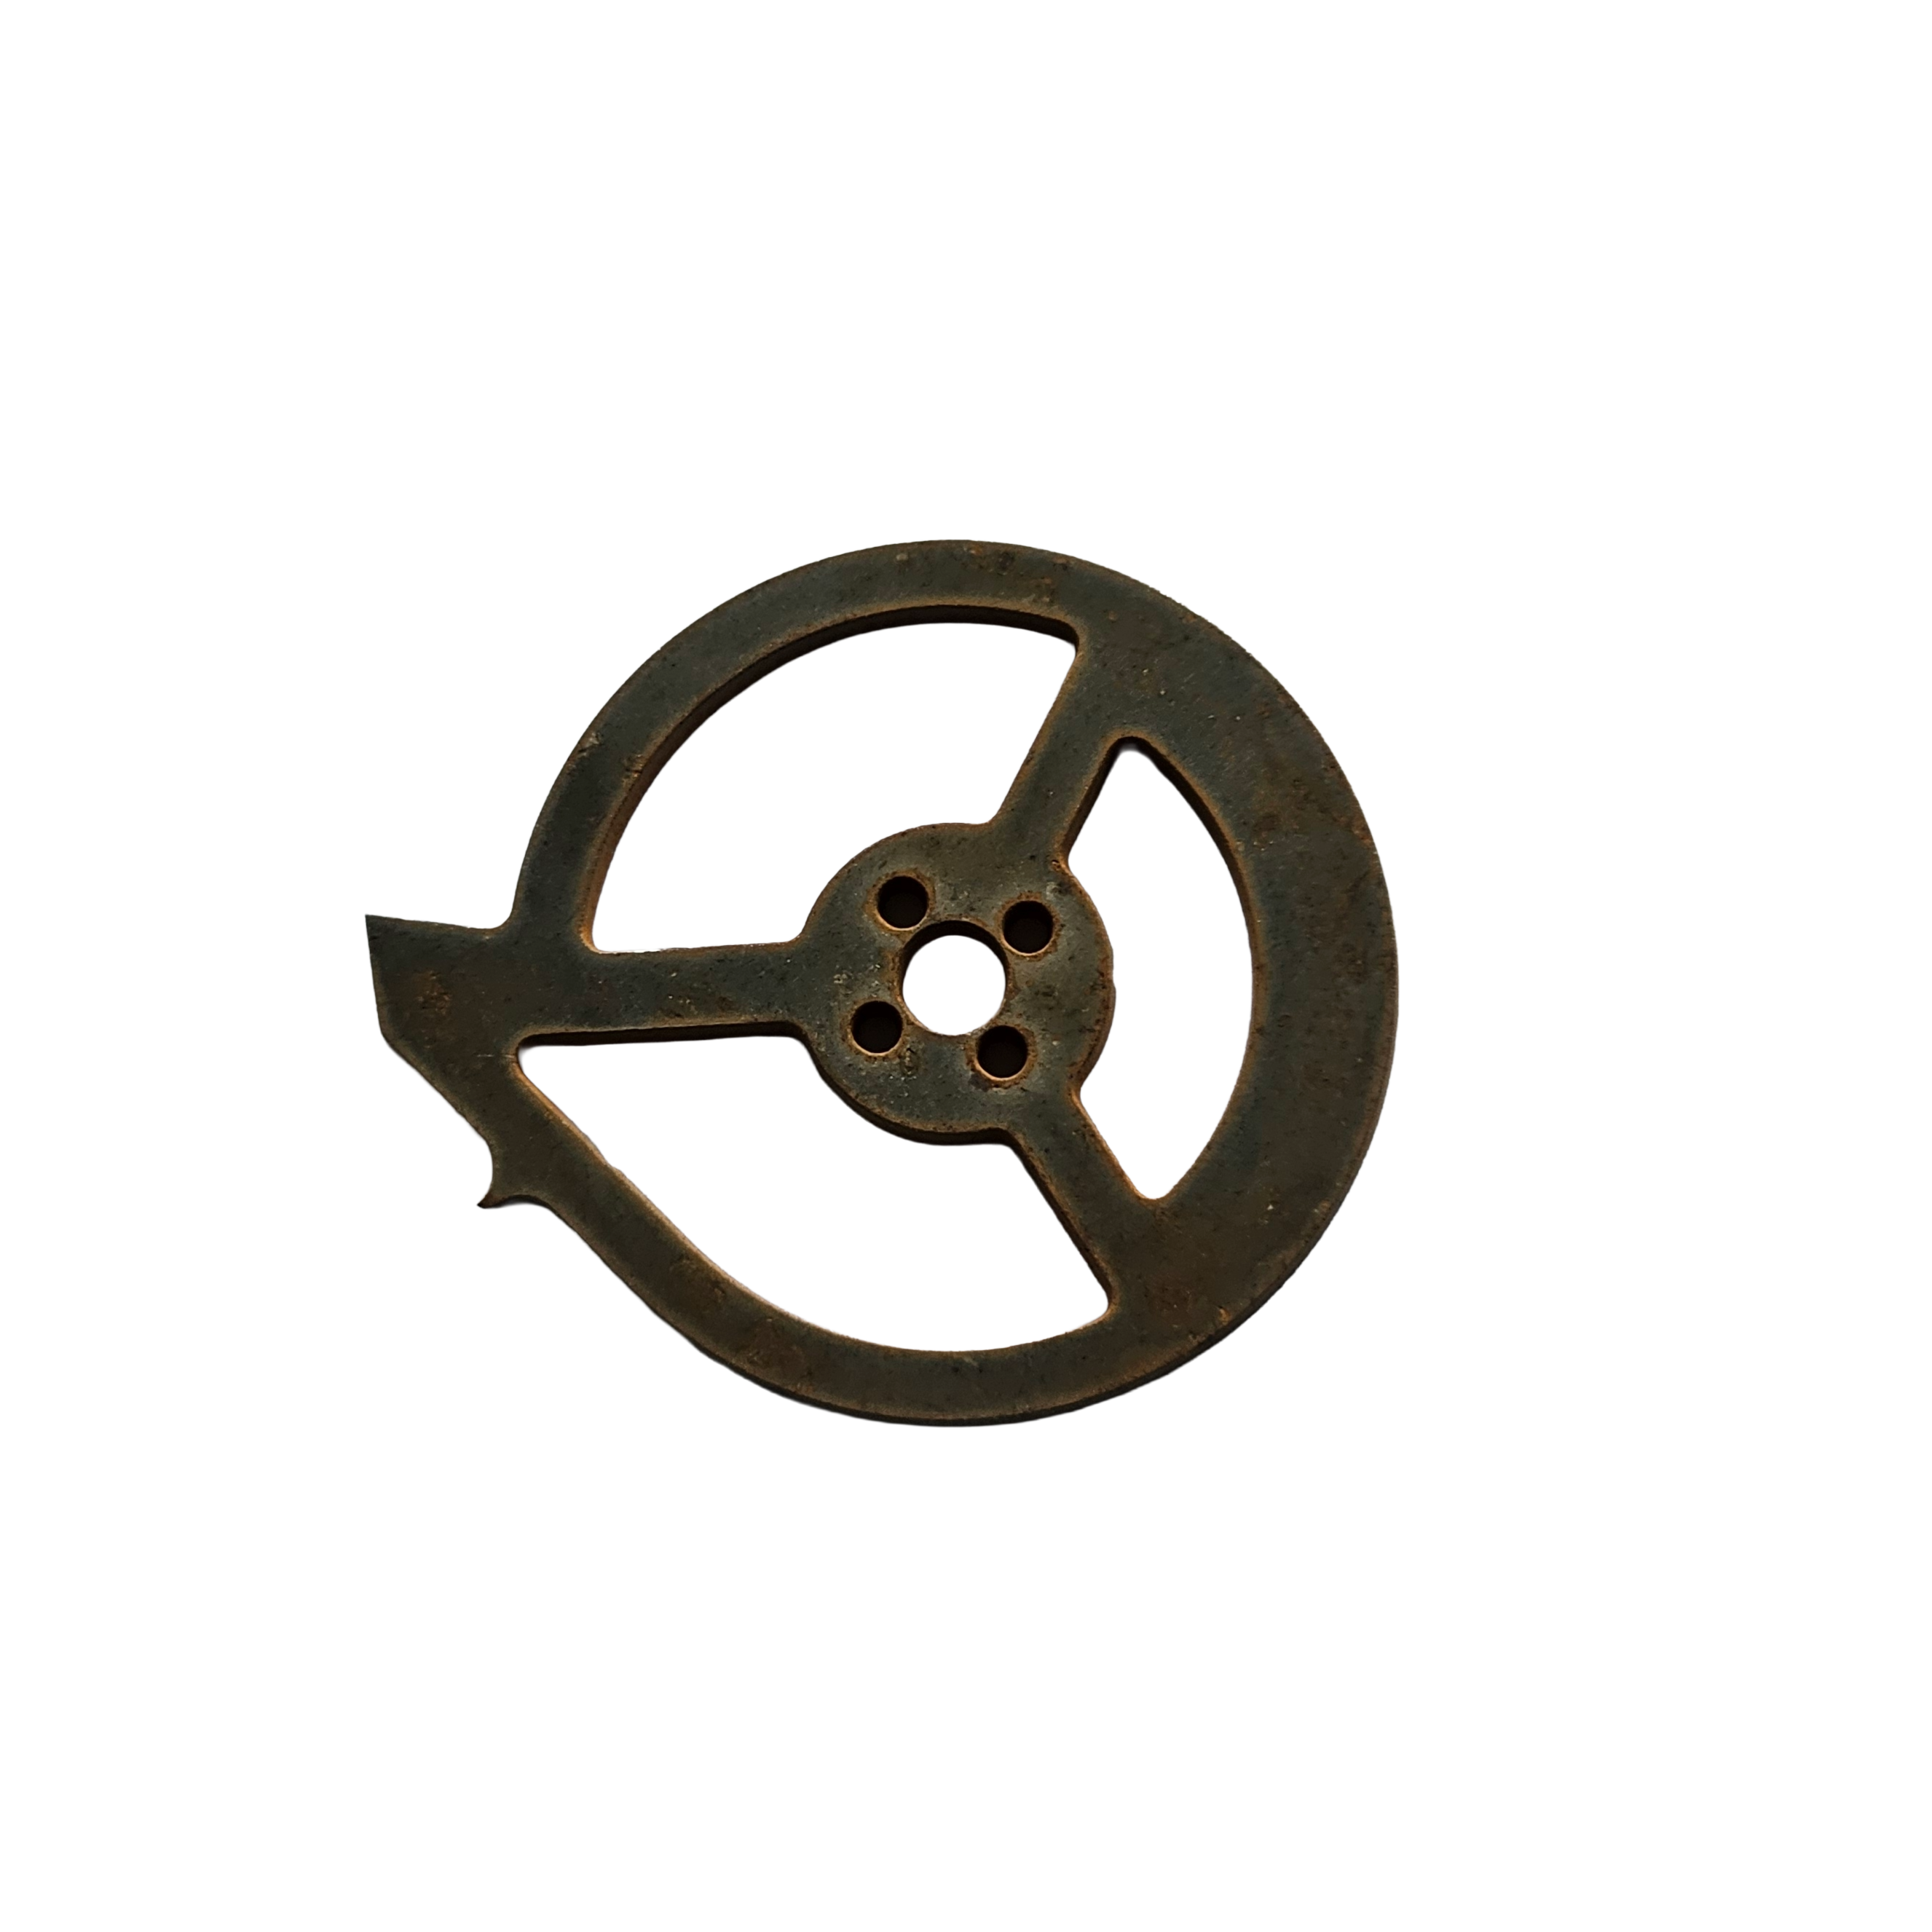
The most demanding type — requires a brushless motor and brushless ESC. A spinning mass returns the same energy to the robot that it delivers to the opponent, so a poorly balanced spinner destroys itself first. We do not recommend starting with a spinner as your first robot, and never test one outside a secure arena.
A wedge with no moving parts is a sensible first weapon: there is nothing to break, and against inexperienced opponents it works surprisingly well. For a breakdown of each design, see our guide to combat robot types, or go straight to the spinner if that is the direction you are heading.
Weight Classes
Mass drives everything else — budget, materials, and where you are allowed to compete.
| Class | Limit | Who it suits |
|---|---|---|
| Antweight | 150 g | first robot, cheapest entry |
| Beetleweight | 1.5 kg | more power, pricier components |
Antweight is the standard starting point. Components are cheap, the robot fits in a box, and a bad crash does not destroy a month’s budget. Full rules covering permitted weapons and safety requirements are in our antweight rules.
Rules vary between leagues and countries. Ours follow CCRL, the Czech combat robot league — if you compete elsewhere, check your local ruleset before you commit to a design, because weapon and safety requirements differ more than you would expect.
Five Mistakes Almost Everyone Makes First Time
Most first robots do not fail because the idea was wrong. They fail on a detail that got overlooked.
Mismatched transmitter and receiver. The most common and most frustrating one. Two units from different manufacturers may not talk to each other even when they look identical. Buy them as a pair, or confirm the protocol before you order.
Strong weapon, weak drivetrain. A robot that cannot move loses regardless of what is bolted on top. Drive and controllability deserve more of your budget than a spectacular weapon — and beginners almost always do the opposite.
Underestimating weight. Mass disappears faster than you expect. Screws, connectors, wiring and glue easily add up to tens of grams, which at the 150 gram antweight limit is a fifth of your entire budget. Weigh as you go, not at the end.
The wrong body material. PLA is stiff and cracks on impact. TPU flexes and absorbs the energy. For a first robot TPU is almost always the better call, even though it is harder to print.
No spare parts at the event. Matches run back to back and you repair between them. A spare wheel, a handful of connectors and a second charged battery decide whether you last the whole tournament or go home after the first fight.
Trying It in Person
Reading about robots is one thing, standing next to an arena is another. The fastest way in does not involve owning a robot — turn up and watch first. Events are also where you get answers no article gives you, because you can look at how other people solved the same problem and ask them directly.
Ready to build? Continue with our step-by-step guide on how to build a combat robot.
Building your first robot and something is not working? Ask on our Discord — plenty of people there have been exactly where you are.
Frequently Asked Questions
Is a combat robot autonomous?
No. Combat robots are driven by a human on a transmitter for the entire match. They have almost nothing in common with autonomous robotics — they are much closer to RC models.
How heavy is a first combat robot?
The smallest class, antweight, has a 150 gram limit. That is roughly the weight of a mobile phone, and the robot fits in a shoebox.
Do I need to know how to program?
No. A basic robot needs no code at all. The transmitter talks directly to the receiver, and the receiver talks to the speed controllers. Programming only becomes relevant on more advanced builds.
How long does a first robot take to build?
Building from off-the-shelf parts, expect a few weekends. Most of that time goes into tuning the drivetrain and printing the body, not the assembly itself.