How to print combat robot parts on a 3D printer
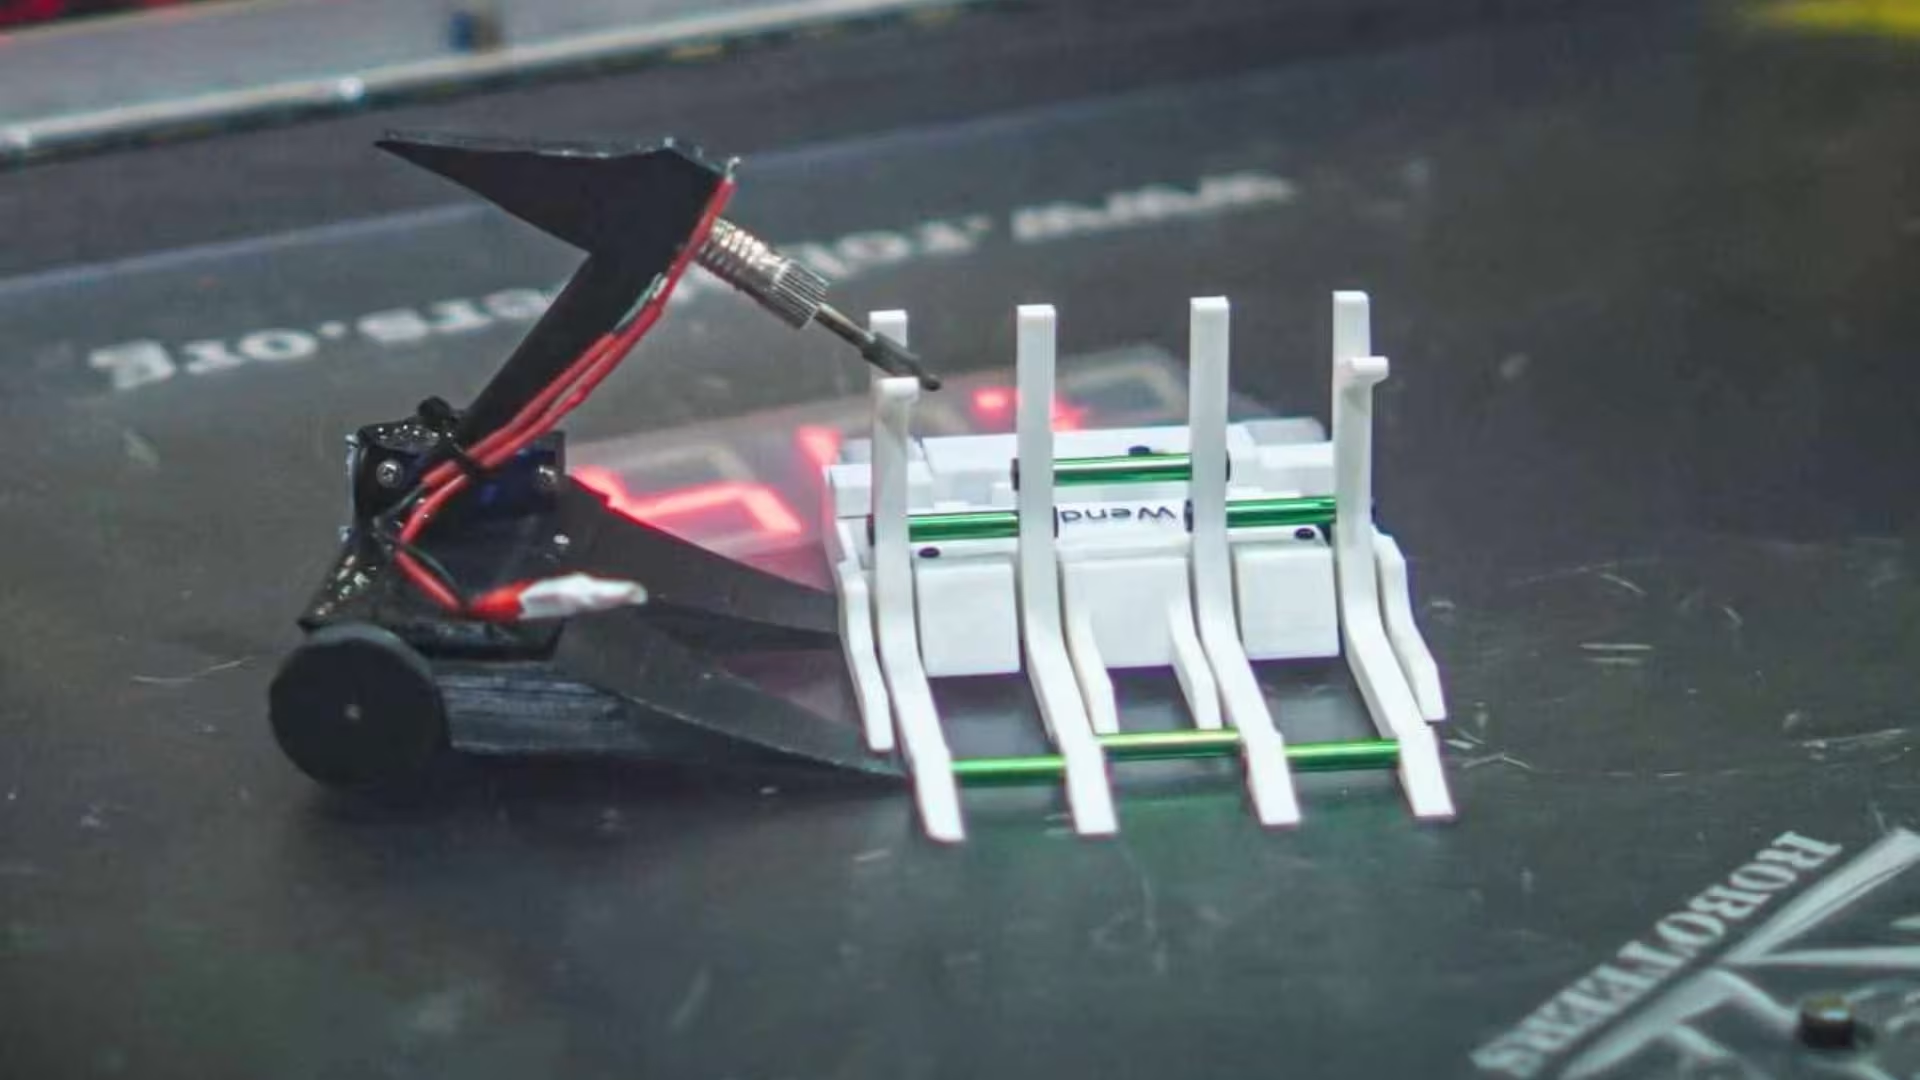
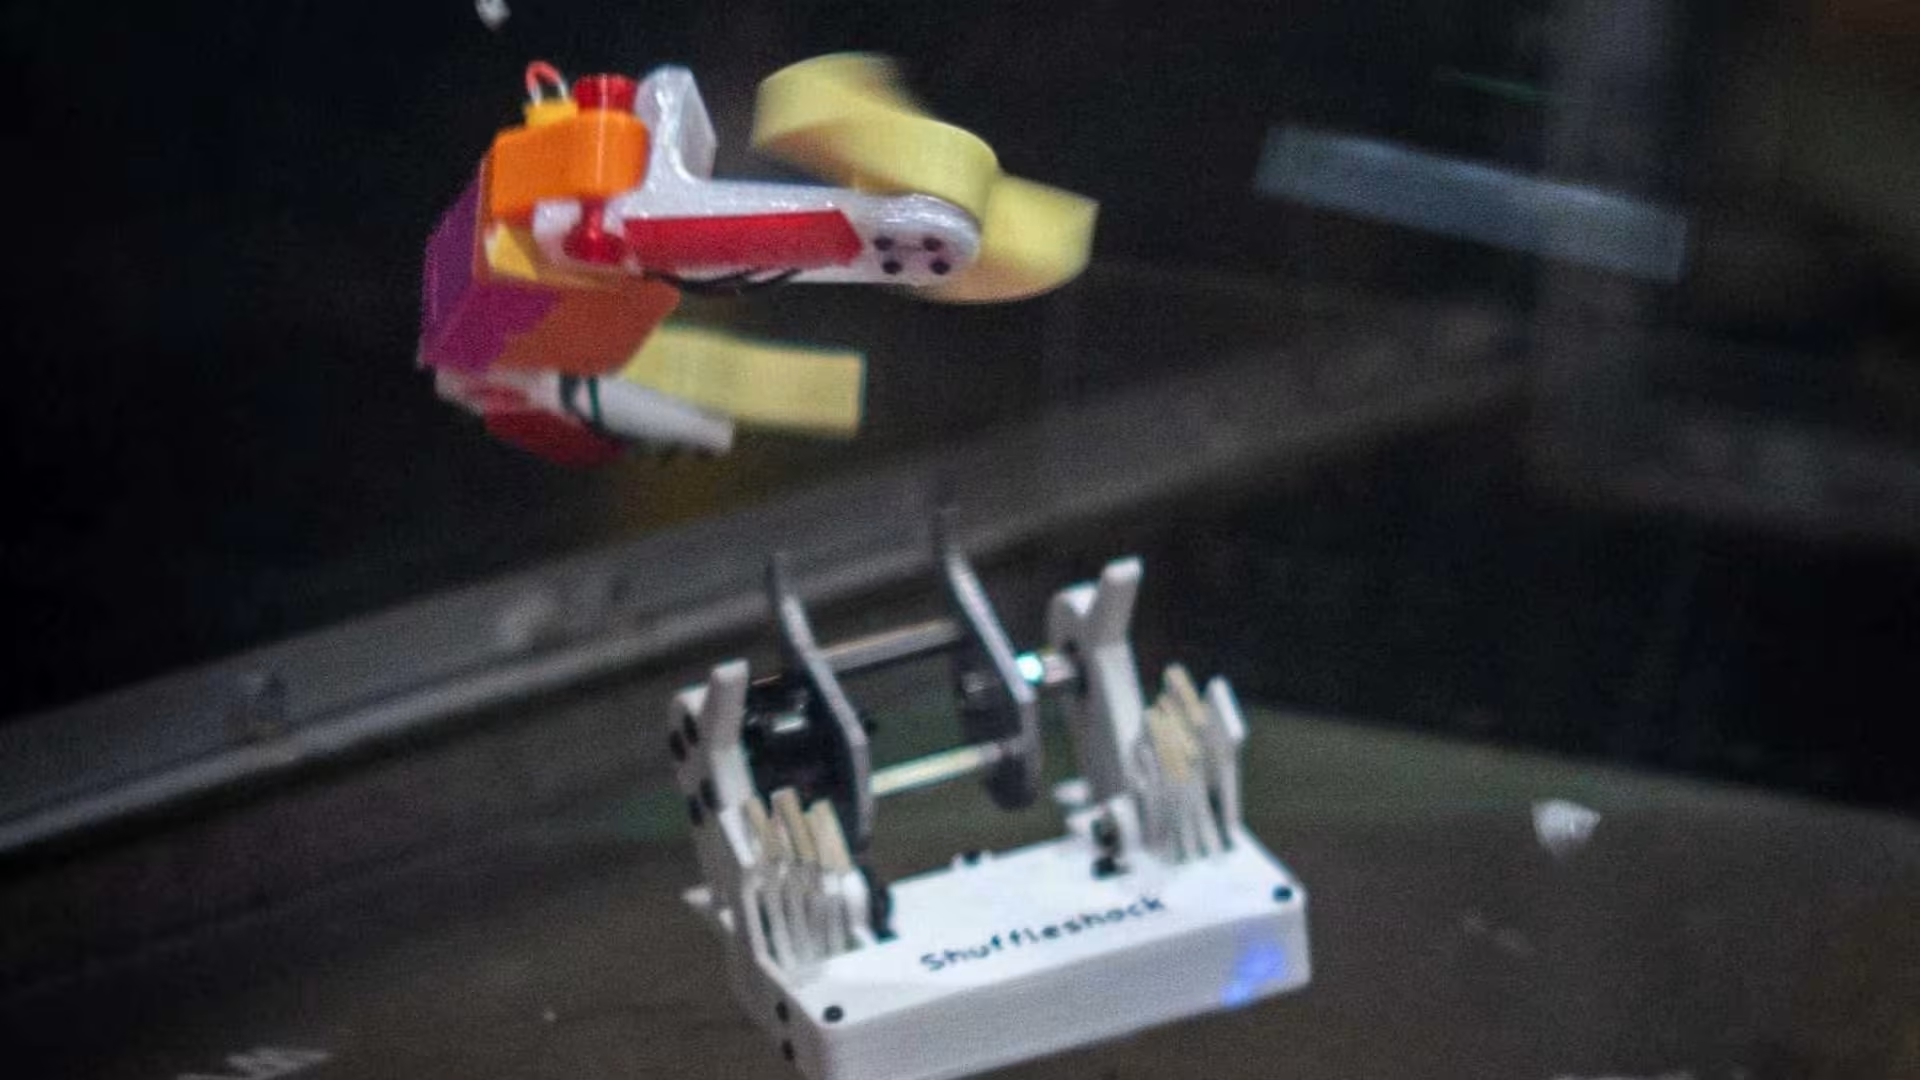
3D printing is a great tool for anyone involved in building combat robots—it offers speed, flexibility, and the ability to produce complex and lightweight parts. With the right material and printer settings, you can create strong, functional components that reduce costs and speed up robot development. For serious builders, 3D printing is now almost a necessity.
Why use 3D printing?
in the construction of combat robots
3D printing is now an integral part of modern hobby and professional robotic engineering. With 3D printing, you can:
- Quickly and cheaply produce complex parts exactly according to your own designs
- Customize and iterate the design during development without the need for complex milling or machining
- Save weight thanks to optimized internal structures (such as reinforced grids)
- Create unique shapes and functional elements that would otherwise be difficult to manufacture

What combat robot components are suitable for printing
In robotic constructions, it is possible to print, for example:
- Covers and protective elements – shields, wheel covers, cable protection
- Connecting parts and holders – mounting of motors, batteries, sensors
- Lightweight components – weapon holders, small joints, mechanical gears (e.g., cogwheels)
- Tools and weapons – for lighter robots, 3D printing can also be used to create parts of weapons (e.g., grabber arms or spinner parts, if the material allows)
- Prototypes – quick verification of shape and function before metal production
Materials suitable for printing combat robot parts
The choice of material is crucial and depends on the requirements for strength, flexibility, and durability:
- PLA – easy to print, inexpensive, but fragile, more suitable for prototypes
- ABS – more resistant to impact and higher temperatures, ideal for stronger parts
- PETG – combines strength and flexibility, good impact resistance
- Nylon – very strong and tough material, suitable for mechanically stressed components
- Carbon fiber or glass fiber in PLA/ABS/nylon – fiber-reinforced materials for increased stiffness and strength

How to print combat robot parts
step by step
-
Design the part in CAD software.
Programs such as Fusion 360, SolidWorks, or free tools such as Tinkercad allow you to create an accurate model according to dimensions and functional requirements. -
Optimize the model for printing.
Consider wall thickness, infill, and the addition of supports to make the part strong but lightweight. -
Choose the right material and print settings
Select a suitable filament string according to your requirements, set the correct nozzle temperature, print speed, and layer height. -
Print and monitor the process
It is recommended to print at a low speed for higher quality and better layer adhesion. -
Post-processing
Remove the supports, sand the surface if necessary, and reinforce the part with epoxy resin or other filler to increase its strength. -
Test and adjust
After the first production, test the part in real conditions. If necessary, adjust the CAD model and print a new version.
Tips for successfully printing combat robot parts
-
Use rigid materials for mechanically stressed parts (nylon, PETG, ABS with carbon fiber)
-
Focus on correct print orientation – layers should be as perpendicular as possible to the expected load
-
Add 50% or more infill for strength
-
Create modularity – print parts as separate modules for easy replacement and repair
-
Pay attention to dimensional accuracy and fit tolerance – joints that are too tight can be a problem; slight clearance is better
Examples of the use of 3D printing in combat robots
-
Custom gears and transmission parts for unique mechanics
-
Grabber arm ends printed from flexible material for better grip
-
Lightweight wedge cover with optimized geometry
-
Precisely tailored sensor and camera mounts
-
Weapon prototyping and rapid design testing before final metal parts

