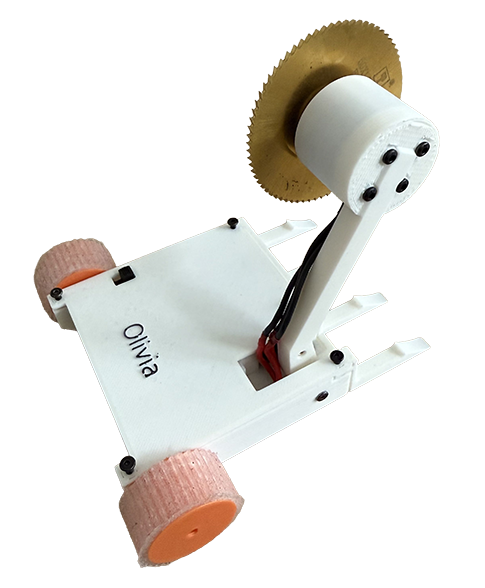
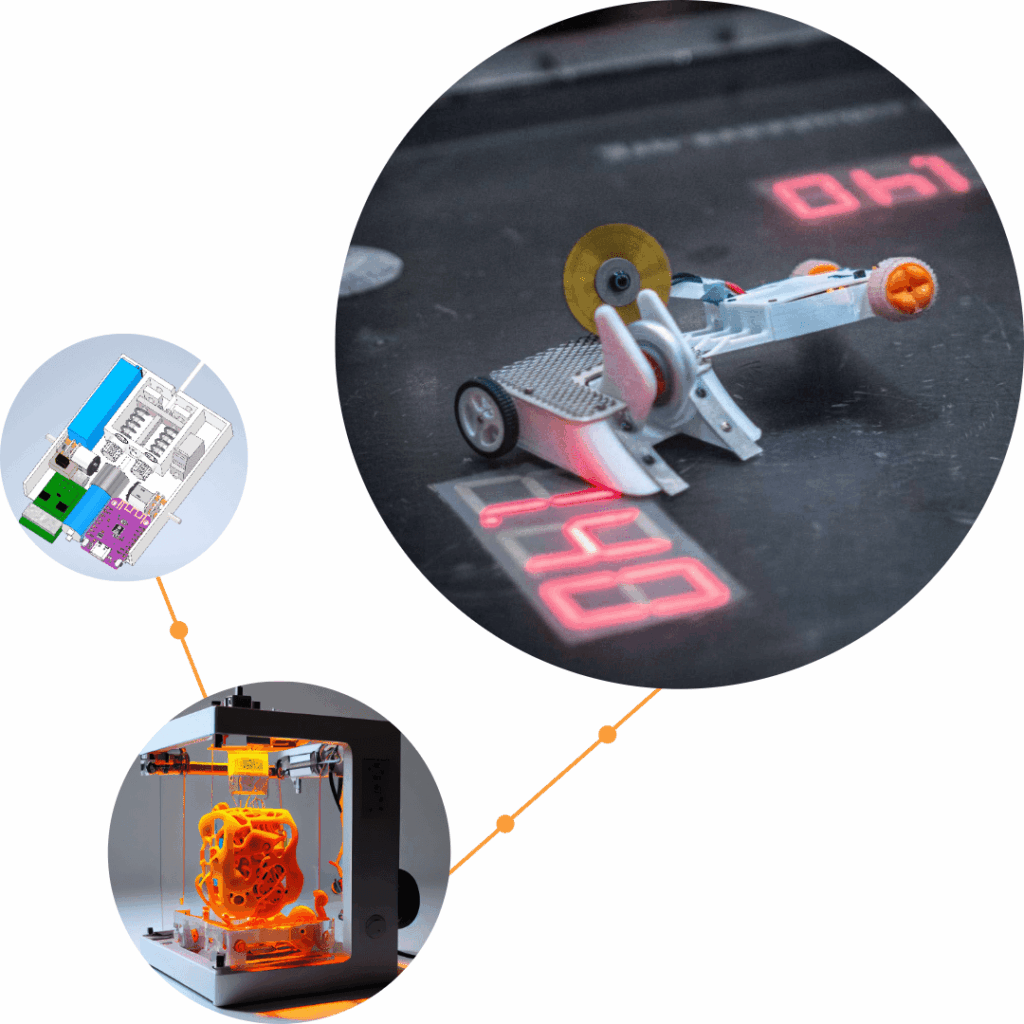
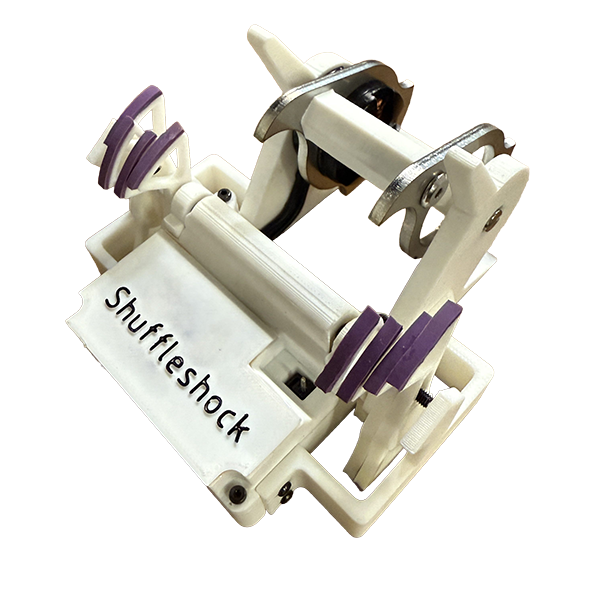
How to model and print the body of a combat robot
We will divide the process into two main parts: Modeling (design on a computer) and Printing (converting a digital model into a physical object).
Modeling the robot's body
in CAD software
Software selection
There are many programs available, ranging from simple to professional. The following are great for beginners:
- Autodesk Fusion 360: Very popular among the robotics community. It is free for hobbyists and startups. It is extremely powerful, yet has a friendly learning curve. It offers great tools for precise modeling.
- Tinkercad: Completely free and web-based program, ideal for complete beginners. It works by assembling and removing basic shapes (cubes, cylinders). It may be sufficient for simple chassis.
- Onshape: Another professional web-based CAD with a free version for public projects.
Concept and planning (The most important step)
Never start modeling “blindly.” First, you need to know what needs to fit inside the robot.
- Measure all components: Take a sliding caliper and accurately measure all parts that will go inside: motors, wheels, speed controllers (ESC), signal receiver, battery, and especially your weapon system.
- Create “placeholder models”: In a CAD program, create simple cubes and cylinders that exactly match the dimensions of your components. This will help you visualize how much space they will take up.
- Think about your strategy: Will it be a wedge designed to ram into your opponent? Will it have a vertical or horizontal rotating weapon (spinner)? The shape of the body must support the robot’s function.
Modeling itself
Modeling is much easier with a plan in place.
- Start with the base: Create the bottom plate of the robot.
- Place the components: Place your “placeholder models” of the components on the base. Arrange them so that the robot is well balanced and everything fits. Don’t forget to leave space for the cables.
- Create the walls: Build the outer walls of the robot around the components. Think about thickness—the walls have to be able to withstand some force. For an antweight robot, a wall thickness of 3-4 mm is a good start.
- Integrate the mounts: Add holes for the screws that will attach the motors and mounts for the battery or electronics. It’s a good idea to think about how to easily disassemble and repair the robot.
- Design the top cover: The body often consists of a bottom tray and a top cover. Figure out how the cover will hold – most often with screws embedded in the body.
Optimization for 3D printing
The model must not only be functional, but also easy to print.
- Avoid large overhangs: A 3D printer prints in layers. If a layer extends beyond the one below it by more than 45-60 degrees, it will need temporary supports that must be removed after printing. Try to design the model so that there are as few supports as possible.
- Use fillets: Sharp internal corners are weak points. Rounding them off will significantly increase the strength of the part.
Correct orientation: When modeling, think about how you will print the part. 3D printed parts are weakest at the joints between layers. The part should be oriented so that the expected impact force does not go in a direction that could tear the layers apart. - Export to STL or 3MF: Once you are satisfied with the model, export it to STL or 3MF format. These are standard formats that print preparation software understands.


Printing and implementation
Material selection (filament)
The material is absolutely crucial for the robot’s durability.
- PLA/PLA+: Great for printing the first prototypes. Easy to print, inexpensive, but relatively fragile. Not ideal for combat.
- PETG: A very popular choice. It is stronger and more flexible than PLA, so it withstands impacts better. It is a great compromise between price, ease of printing, and durability.
- TPU (flexible filament): Extremely durable and flexible material. It can absorb a huge amount of energy from impact. Some top-of-the-line robots have their entire chassis made of TPU. However, printing is slower and more demanding in terms of correct printer settings.
- Nylon or carbon fiber-filled nylon (CF-Nylon): The absolute best in durability. It is extremely tough and strong. However, printing with it is difficult—it requires high temperatures and often a special hardened nozzle.
Recommendation for beginners: Start with PETG. Once you have gained experience, you can experiment with TPU or Nylon.
Preparing the print in "Slicer"
Software called a “slicer” (e.g., PrusaSlicer, Cura) converts your STL model into instructions for the printer (G-code). Here you set the key parameters for strength:
- Layer height: A lower layer height (e.g., 0.2 mm) means a stronger connection, but longer printing time.
- Number of perimeters (walls): This is the most important setting for strength! Instead of the standard 2 walls, set at least 4-6. Most of the strength of the part is in the outer walls, not in the infill.
- Infill: Set a high density, ideally 50-100%. The “Gyroid” is a great infill pattern because it is strong in all directions.
- Part orientation: As mentioned above, place the part on the virtual pad so that the layers are perpendicular to the direction of expected impacts. For example, a wedge is printed “upright,” not flat.
Printing and finishing
-
Prepare the printer: Make sure you have a clean and well-adhering print bed.
-
Start printing: Printing a solid chassis can take many hours. Be patient.
-
Finishing: After printing, allow the part to cool, carefully remove it from the pad, remove any supports, and clean up the edges.
-
Assembly: Install all components. You may need to slightly enlarge some screw holes with a drill, which is completely normal.
Key tip at the end: Your first design will almost certainly not be perfect. Don’t be afraid to iterate! Build the robot, go into battle, find out what broke, and based on that, improve the model and print a new, more durable version. That’s the beauty of 3D printing.

